Nothing says relaxation like a hot bath at the end of the night — add your salts and suds and soak the stress away. Transform your tub into a tranquil spa with this bathtub tray DIY project.
What You’ll Need:
- One 1/12 wood board (any kind of wood works)
- 220-grit sandpaper
- Varnish
- Wood glue
- Nails
- 2 drawer pulls + hardware
- Stain (optional)
Bathtub Tray DIY | Instructions
Measure Your Bathtub
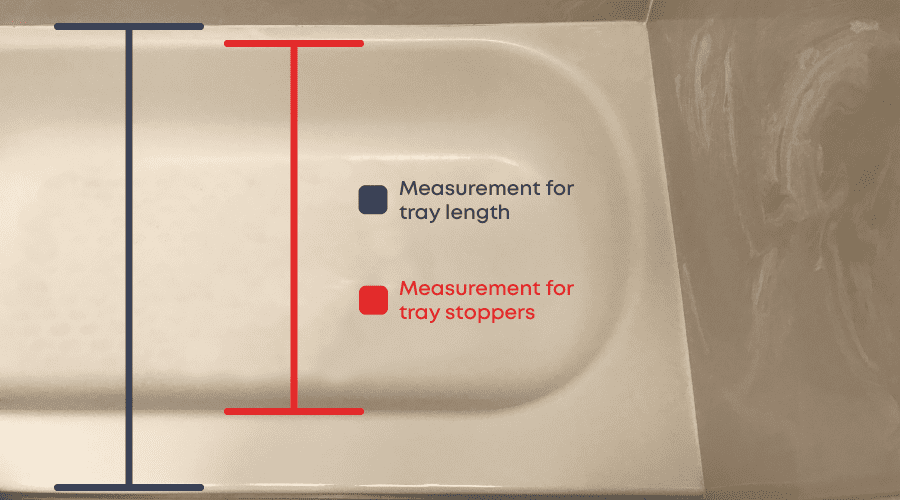
Measure the outside width of your bathtub at its widest part—this will determine the length of the wood board you need.
Then, measure the inside width of your bathtub—this will determine where you’ll put stoppers on the underside of your DIY bathtub tray (they will prevent the tray from sliding off your tub).
Cut & Sand Wood
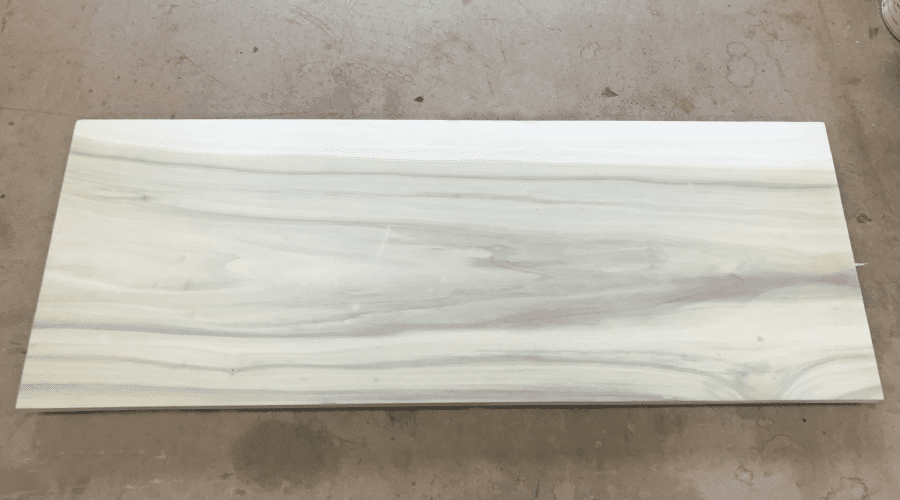
Cut your piece of wood to size using your measurements. Hardware stores will typically cut a piece of wood for you for free. Sand the cut-to-size piece of wood until it is smooth to the touch.
Attach Stoppers
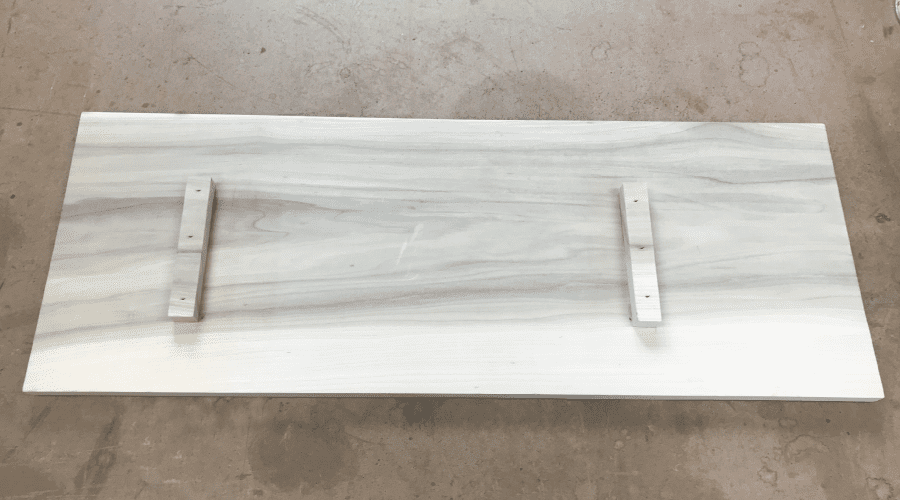
Measure where the stoppers will go. Attach them to the backside of the board with wood glue and nails.
Stain Wood
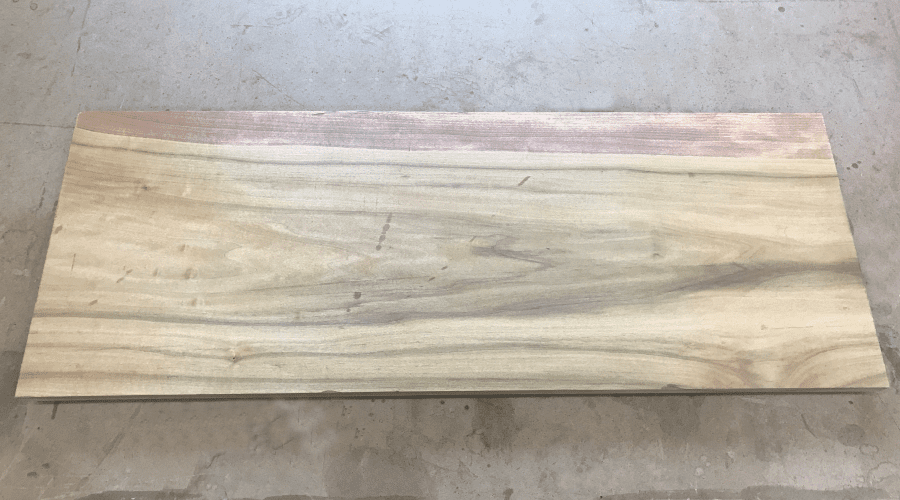
Stain each side of your DIY bathtub tray, letting the board dry between sides. This step is optional for your DIY bathtub tray—you can skip to applying varnish.
Finishing Touches
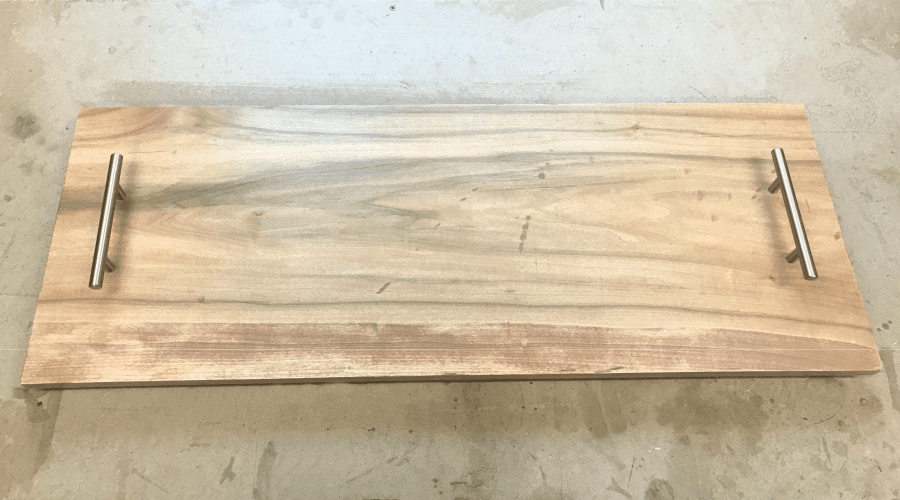
Apply your varnish following the can’s directions. Let dry. Add your handles of choice.
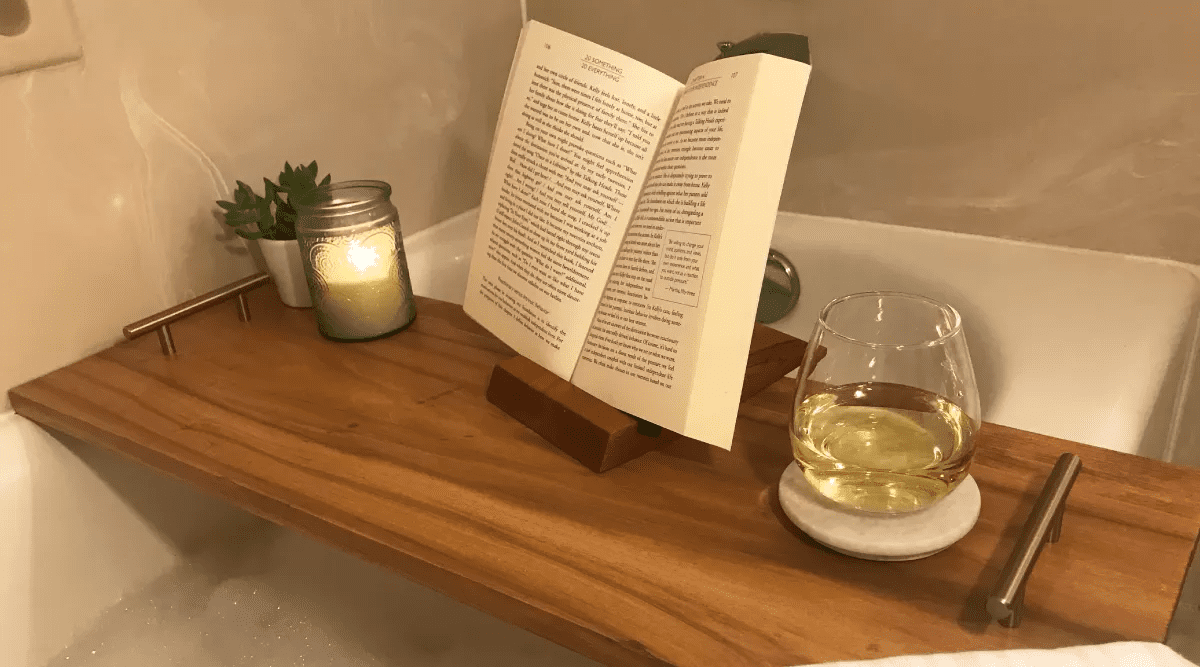
Enjoy Your Bathtub Tray!

Ah, isn’t your new bath setup relaxing with your DIY bathtub tray?
Other Easy Bathroom DIYs
One 1/12 board? that’s pretty thin. Was it supposed to be 1/2???