Wrapping a present is a labor of love that adds the perfect finishing touch to any gift. However, it can be a pain to get right the first time! Follow this GIF tutorial and learn how to wrap a gift box perfectly. Perfect your gift by watching our video example of how to tie a bow on a present.
Estimated reading time: 5 minutes
How to Wrap a Gift Box or Present
First, you’re going to have to collect your present wrapping materials. You’ll need wrapping paper, scissors, and tape! Here’s the real secret of how to wrap a present, make sure you have sturdy wrapping paper. Cheaper options tend to be too thin and, therefore, rip easily. Target carries some excellent options. After you’ve gathered your supplies, it’s time for the gift box wrapping fun to begin!
Step 1: Measure the Wrapping Paper for Your Present
To measure the right amount of paper, start with the height. The paper should reach ¾ of the height of the box on 3 sides. Next, fold the paper over, and when the bottom reaches the other side of the box make a mark and cut.

Step 2: Flip and Tape the Paper to Your Gift Box
With the bottom of the present facing up, bring a small amount of wrapping paper up the side and tape it down. Next, bring the rest of the paper over until it reaches the edge of the box and tape that too. Alternatively, you can use self-adhesive wrapping paper instead of tape as shown in the gif below.
Step 3: Fold the Corners of Your Wrapped Present
Bring the edge of the paper flush to the edge of the box and make a triangle. Do this on all 4 corners. After that, fold the original triangles into themselves to make a triangle on the top and bottom.
Step 4: Secure the Edges of Your Wrapped Present
Fold one triangle down first and secure with tape and bring the other triangle up and tape. After that, repeat steps 3 and 4 on the other side of the box. After you’re finished, you’ll have a perfectly wrapped present!
How to Tie a Bow on a Present
Every perfectly wrapped present needs a bow! There are countless ways to tie a bow on a present, but we prefer this tried and true method. Classic bows are quick, easy, and can look especially elegant if you choose the right ribbon!
Step 1: Choose & Measure Your Ribbon
Since we’re using the classic bow method, choose a ribbon that isn’t wired and is rather skinny. The slimmer the ribbon the easier it is to tie your knots! Next, measure your ribbon out. It should be about 6 times longer than the wrapped present itself. That way, you have plenty of room to work with.
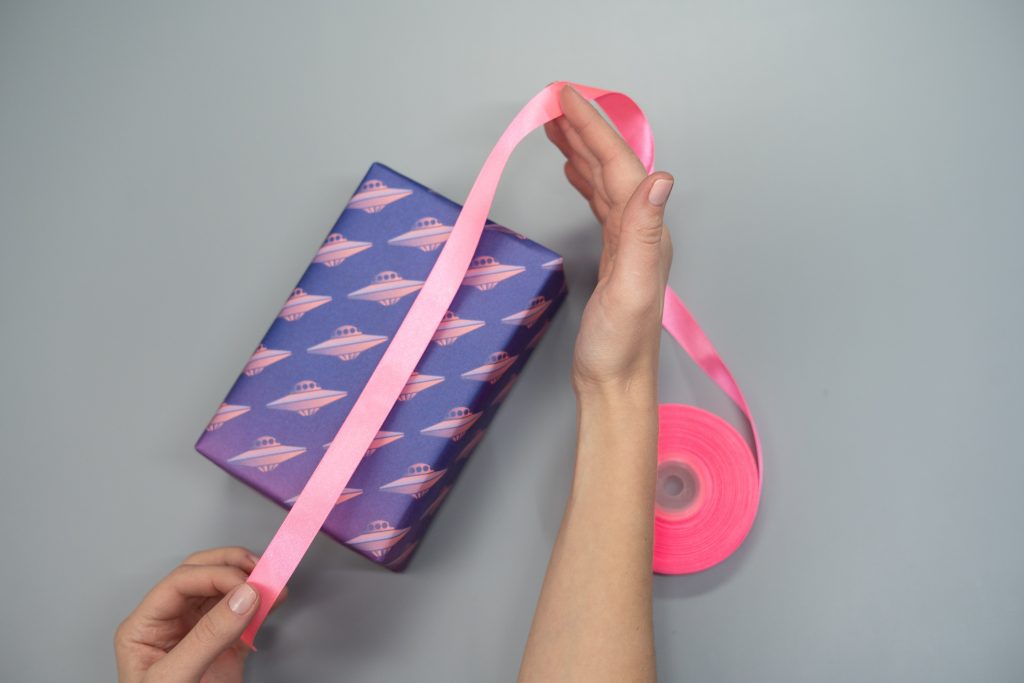
Step 1: Get Your Bow Ribbon in Place
After you’re done measuring, place the wrapped present face down on the middle of the ribbon. Wrap both sides of the ribbon around the gift so they twist around one another and then run perpendicular to the original direction. Pull ribbons tight and flip the gift over.

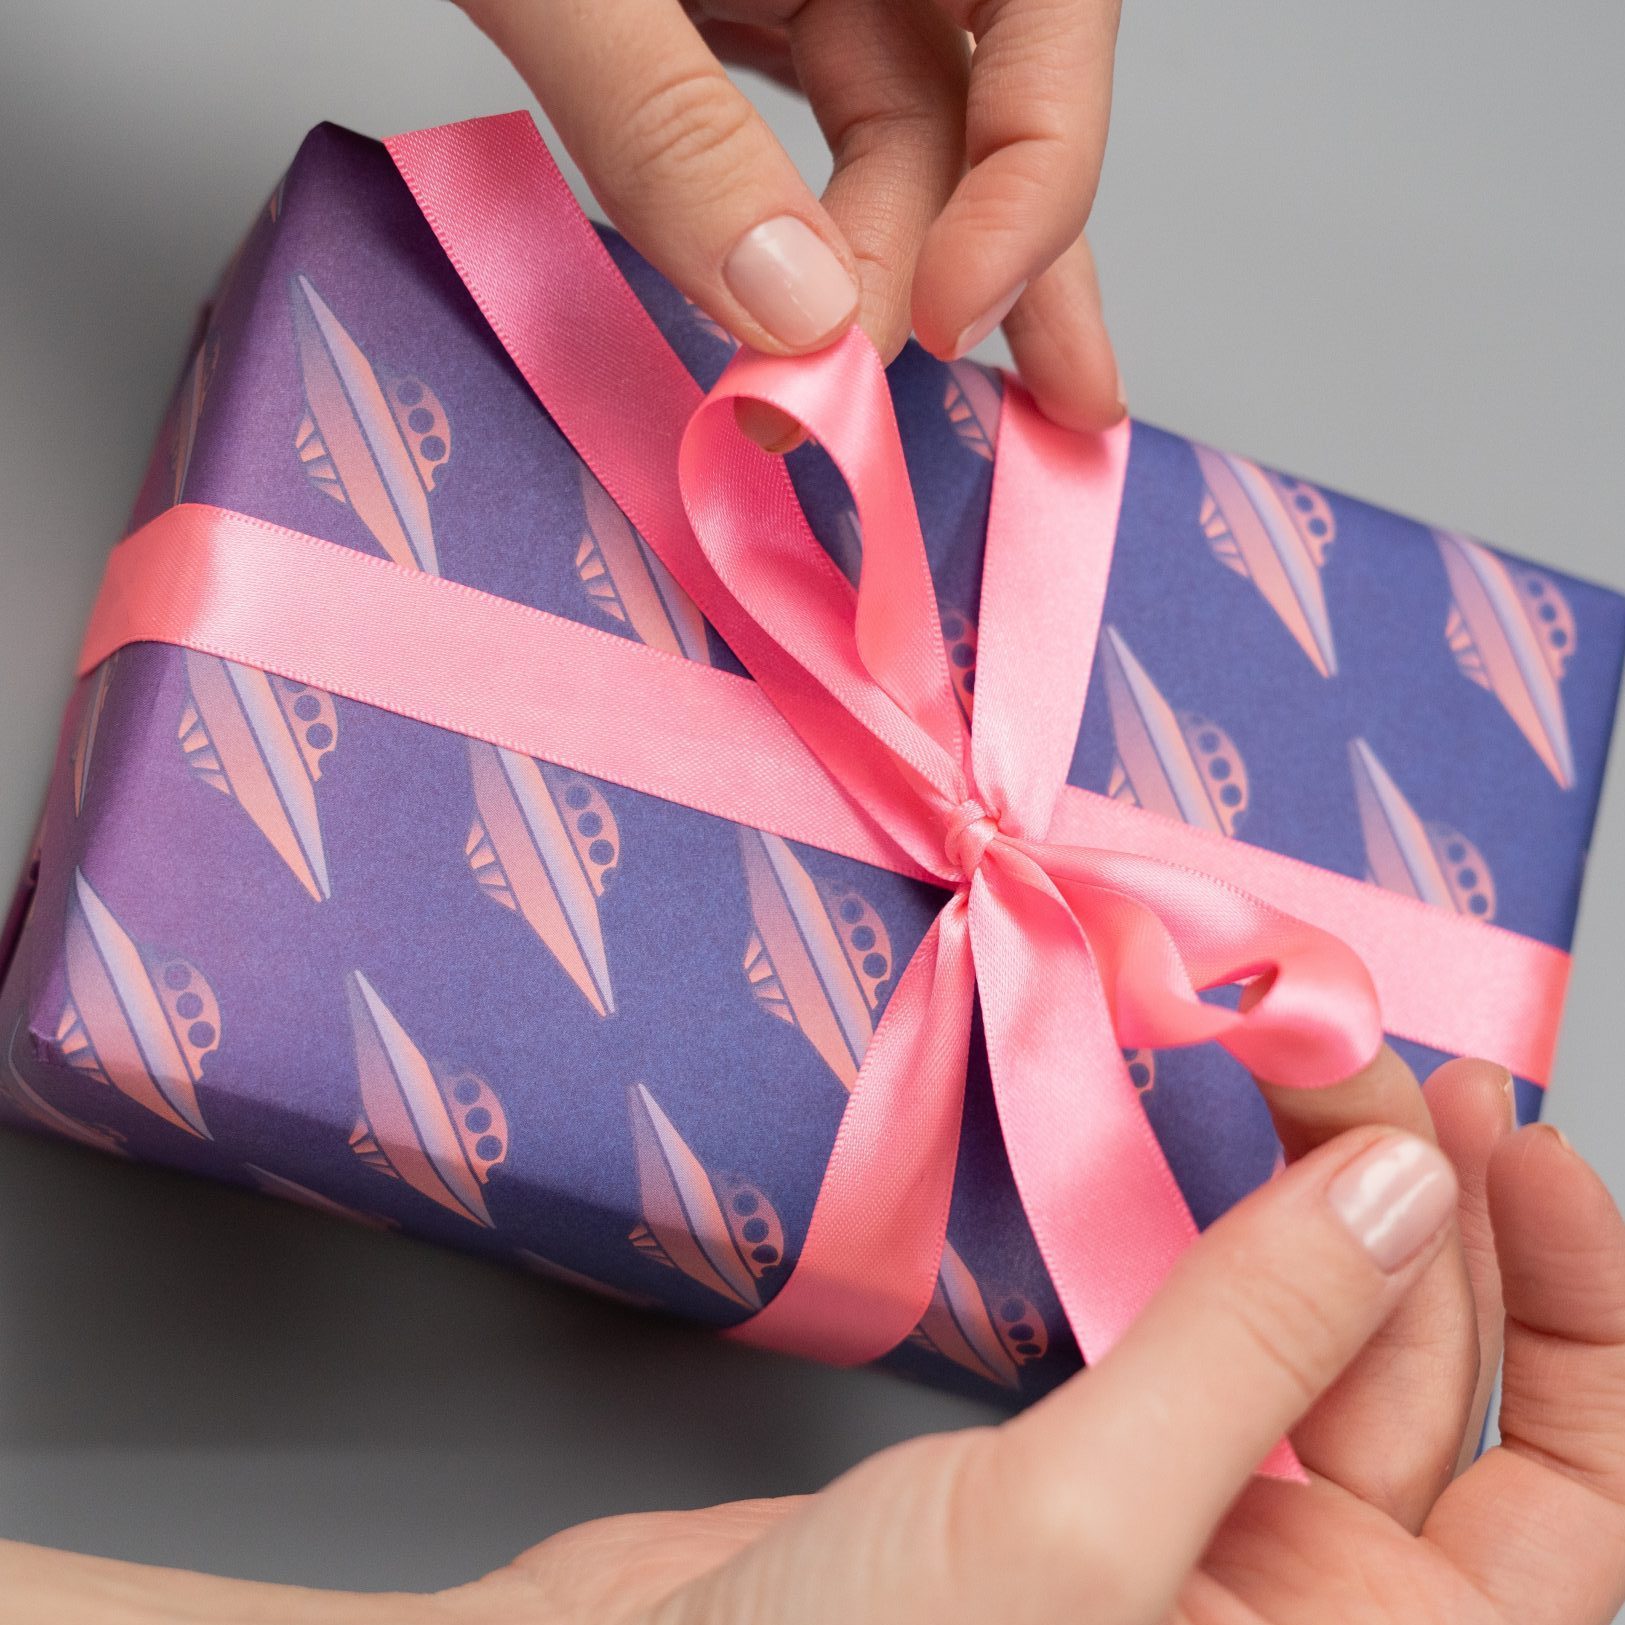
Step 2: Tie Your Knot
Tie a knot on the center top of the wrapped present to hold the ribbon in place. Next, use one finger to hold down your ribbons while you create two bunny ear loops. Cross the one loop over the top of the other loop. After that, bend the first loop around and pull through the hole underneath the loops. Then, pull the ribbon tight. See the video below to watch the whole step in action.
Store Your DIY Supplies With SecurCare!
That’s a wrap! If you need to store your DIY materials or if you want to hide your presents before the holidays, try a storage unit with SecureCare Self Storage. We have storage units that are safe for all your gift boxes and DIY supplies. Additionally, they’re clean and secure, with onsite managers and 24-hour video recording of the property. If you have questions, you can chat with a friendly manager online anytime! However, we always welcome an in-person hello at one of our local stuff storage locations! Until then, happy gifting!
Try these other crafty projects & tips:

This post was originally published on 2/6/2020. It was updated on 11/19/2021.