If you’re new to wellness, you might not have heard of microgreens. The good news is, now that you’re on the wellness path, microgreens are one of the best superfoods! They’re super tasty, incredibly nutritious, and, even better, easy to grow at home! One question many people have, though, is how to store microgreens to keep them fresh and nutritious.
What, Exactly, Are Microgreens?
Before you learn how to store microgreens, you’ll want to know what they are. The term ‘microgreens’ is actually a bit of a misnomer. They’re not tiny versions of plants; they’re just young and thus small. However, that’s the best time to harvest and eat them when they’re between 1 and 3 inches tall (2.5 to 7.5 cm). Interestingly, rather than being a sprout or a baby green, microgreens are considered baby plants. The difference is that sprouts don’t have leaves, while microgreens do. Also, you can grow and harvest sprouts in less than a week. Microgreens, though, take between one and three weeks before you can harvest and eat them.
A big plus about microgreens is that you can cut some off to eat and leave the plant alive. That way, in a few days, you’ll have more microgreens to eat! It’s also effortless to grow microgreens. You can grow them inside on your windowsill, in a greenhouse, and, in Summer, outdoors. Last but certainly not least, microgreens have tons of nutritional value, including vitamins, minerals, antioxidants, and more. (Plus, they taste absolutely delish!)
How to Store Mircogreens: The Variety
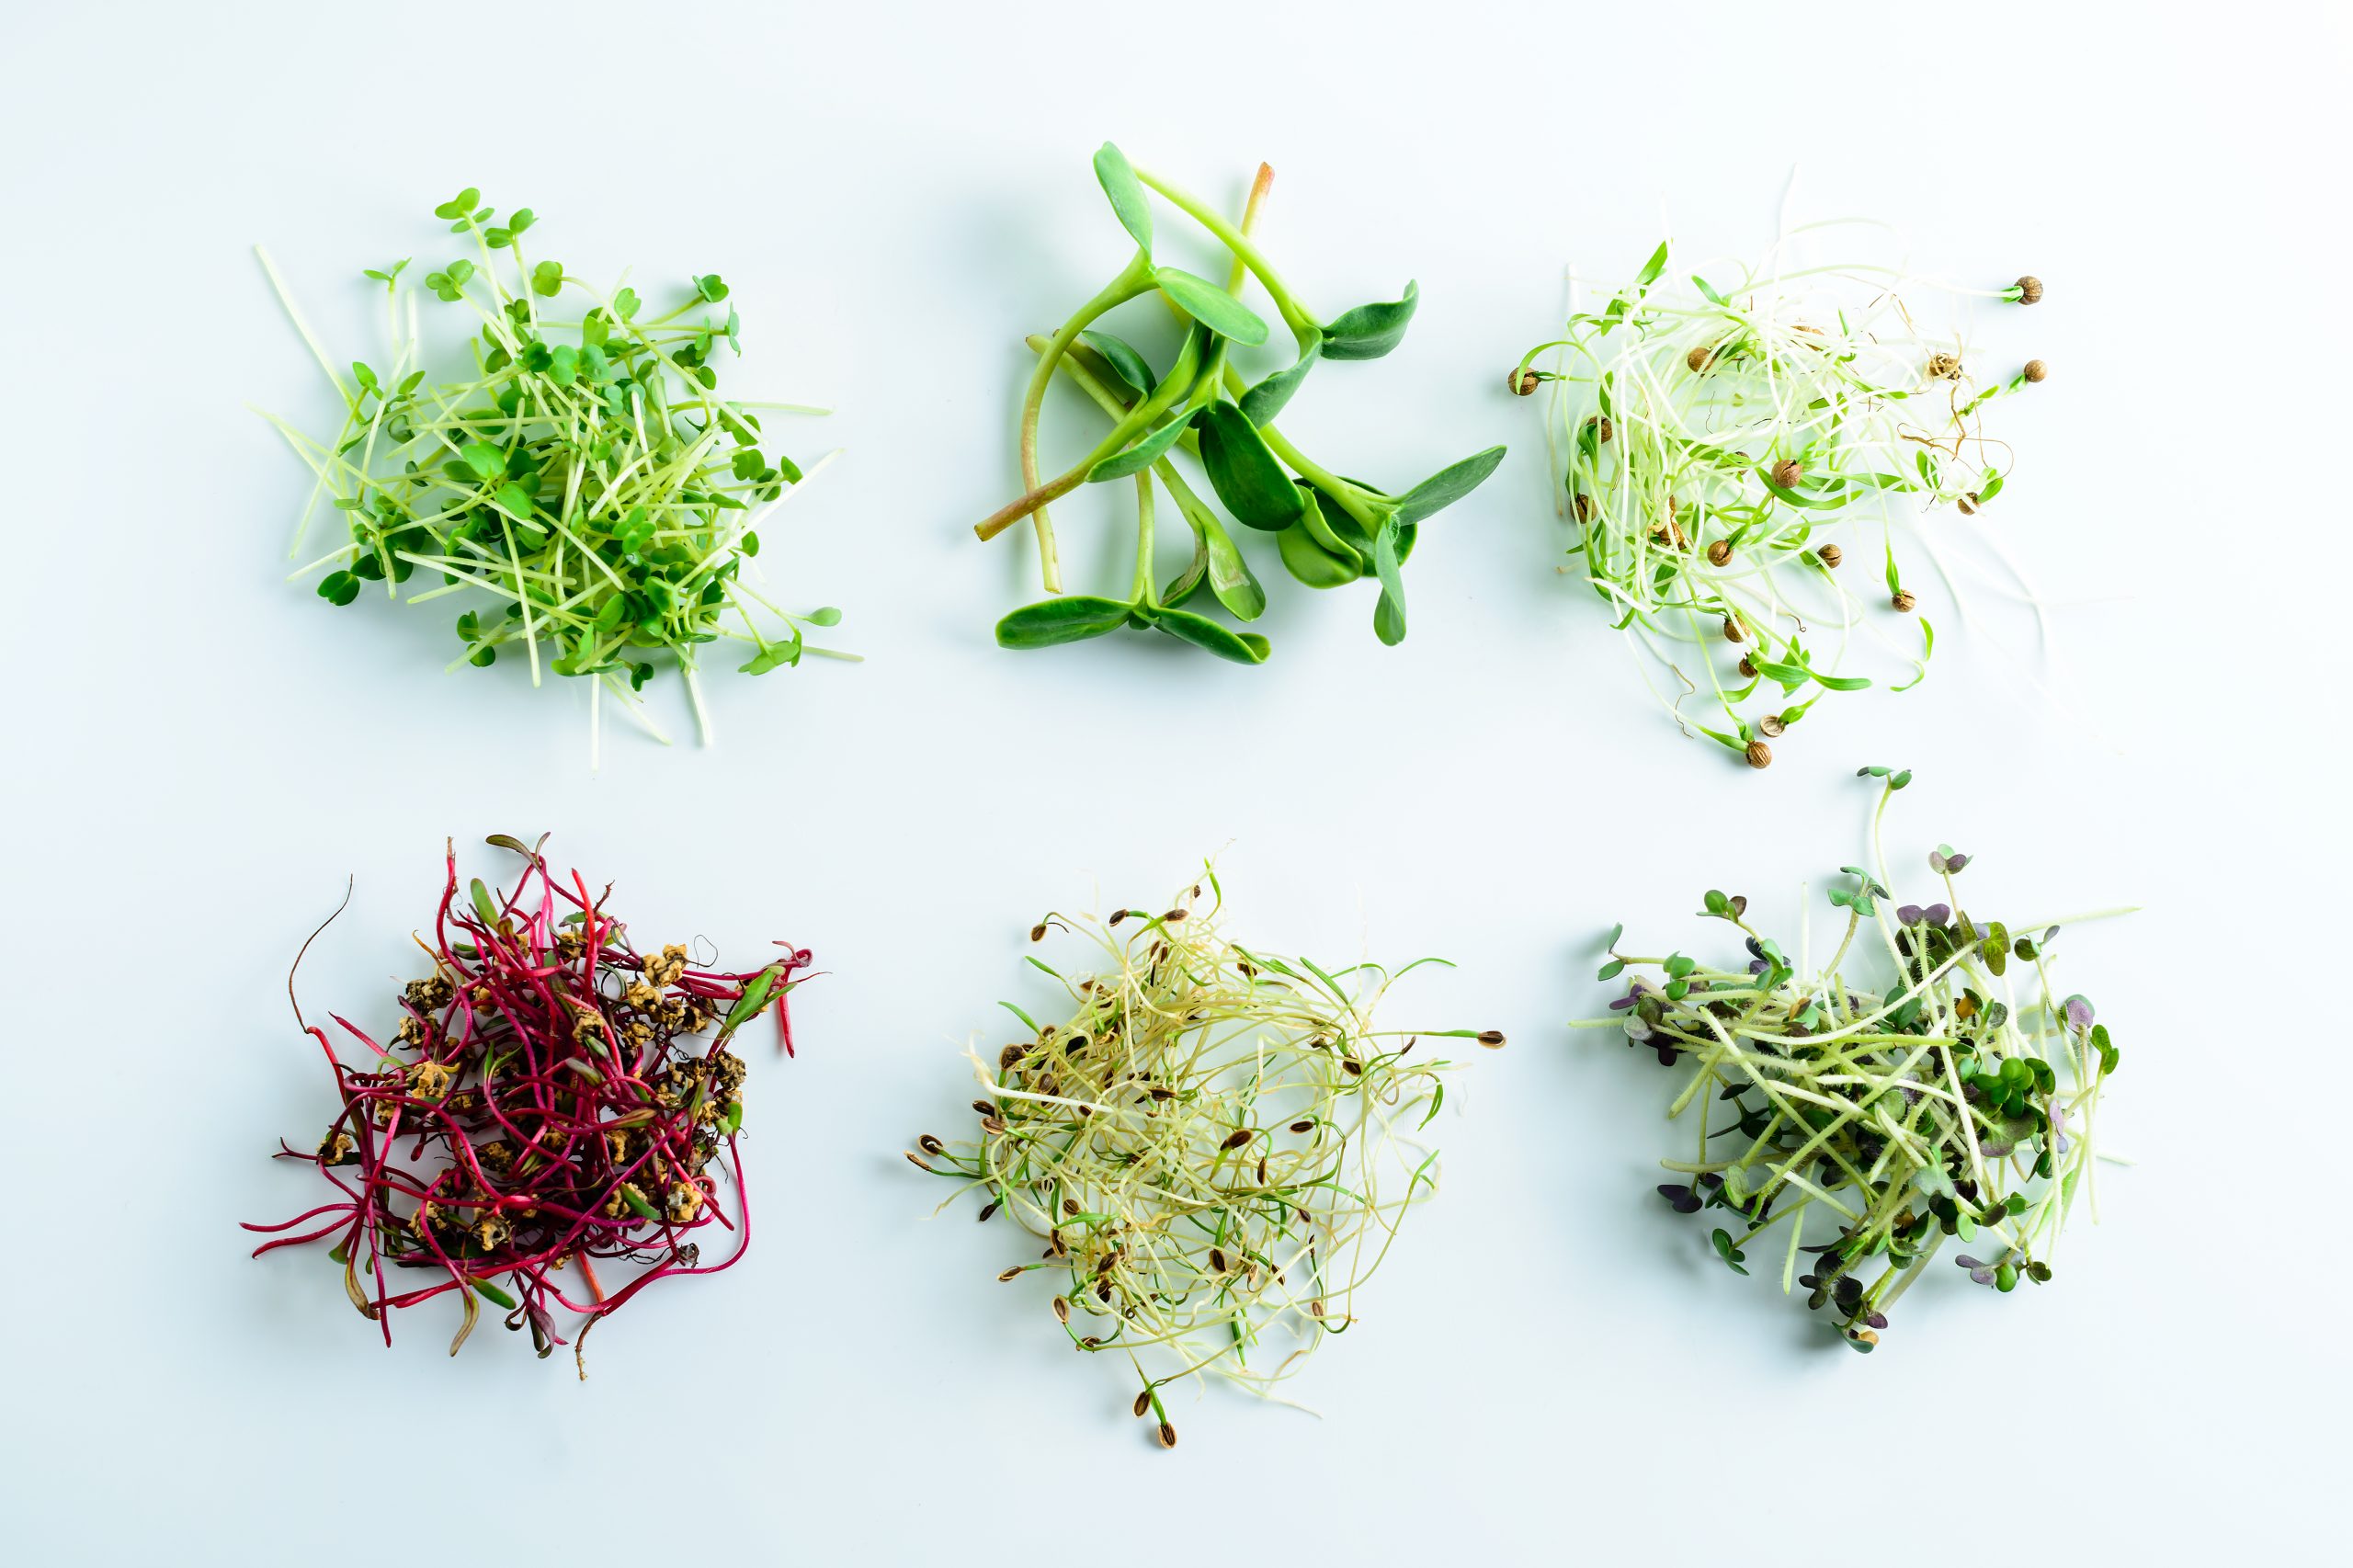
You can grow microgreens from many different types of seeds, producing a wide variety of nutritious treats. Here are some of the most popular microgreens (in no particular order):
- The Cucurbitaceae family: Melon, cucumber, squash.
- The Brassicaceae family: Cauliflower, broccoli, cabbage, watercress, radish, arugula.
- The Asteraceae family: Lettuce, endive, chicory, radicchio.
- The Amaranthaceae family: Amaranth, quinoa swiss chard, beet, spinach.
- The Apiaceae family: Dill, carrot, fennel, celery.
- The Amaryllidaceae family: Garlic, onion, leek.
Microgreens can also be grown from legumes as well as cereals. For example, rice, barley, corn, beans, chickpeas, and lentils.
Why Store Microgreens? They’re Nutritious
We mentioned earlier that microgreens are very nutritious, and we weren’t kidding! Indeed, they’re absolutely packed with nutrients of many different varieties. Below are some of the best, including:
- They’re full of minerals like potassium, iron, zinc, magnesium, and copper.
- They have a higher concentration of polyphenols. Up to 40 times higher in some cases, depending on the type of microgreen. (Polyphenols are micronutrients. They improve digestion, prevent neurodegenerative diseases, and even help with weight management.)
- They have a very high level of antioxidants, in some cases much more than mature greens.
Why Store Microgreens? The Health Benefits
We have talked about how microgreens are packed with nutrients, antioxidants, and vitamins. Not surprisingly, with all of that goodness, they offer many health benefits.
- The polyphenols in microgreens have been shown to reduce the risk of heart disease and LDL cholesterol.
- With their very high antioxidant content, microgreens have been shown to lower the risk of certain types of cancer.
- Studies have shown that microgreens enhance cellular sugar uptake and may be very helpful for diabetes.
- The risk of Alzheimer’s disease, studies show, is reduced from eating microgreens.
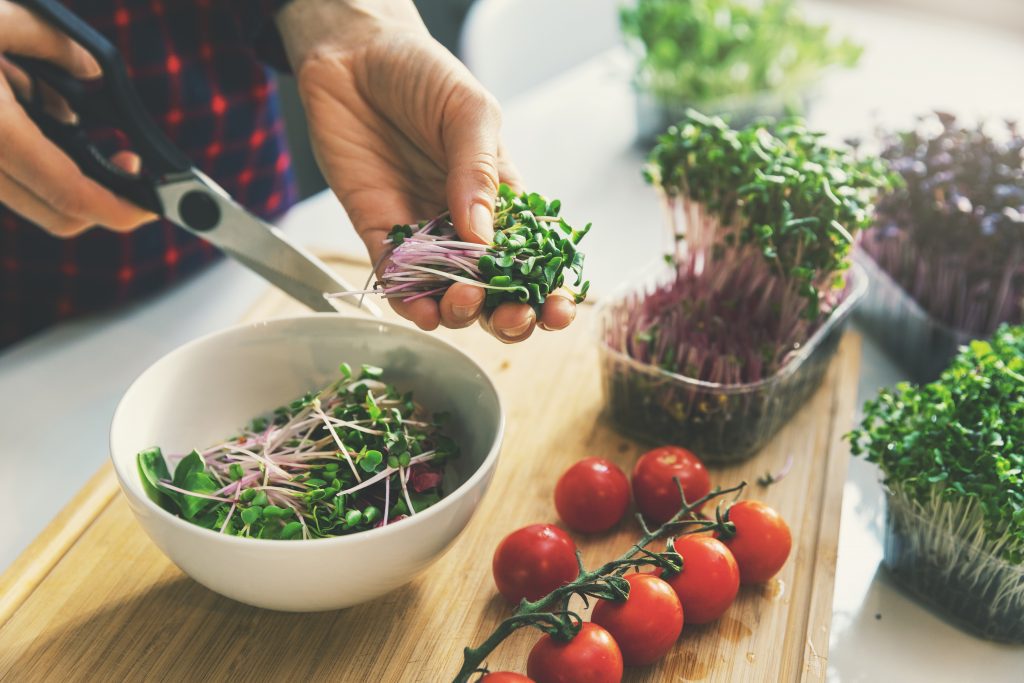
How to Include Microgreens in Your Diet
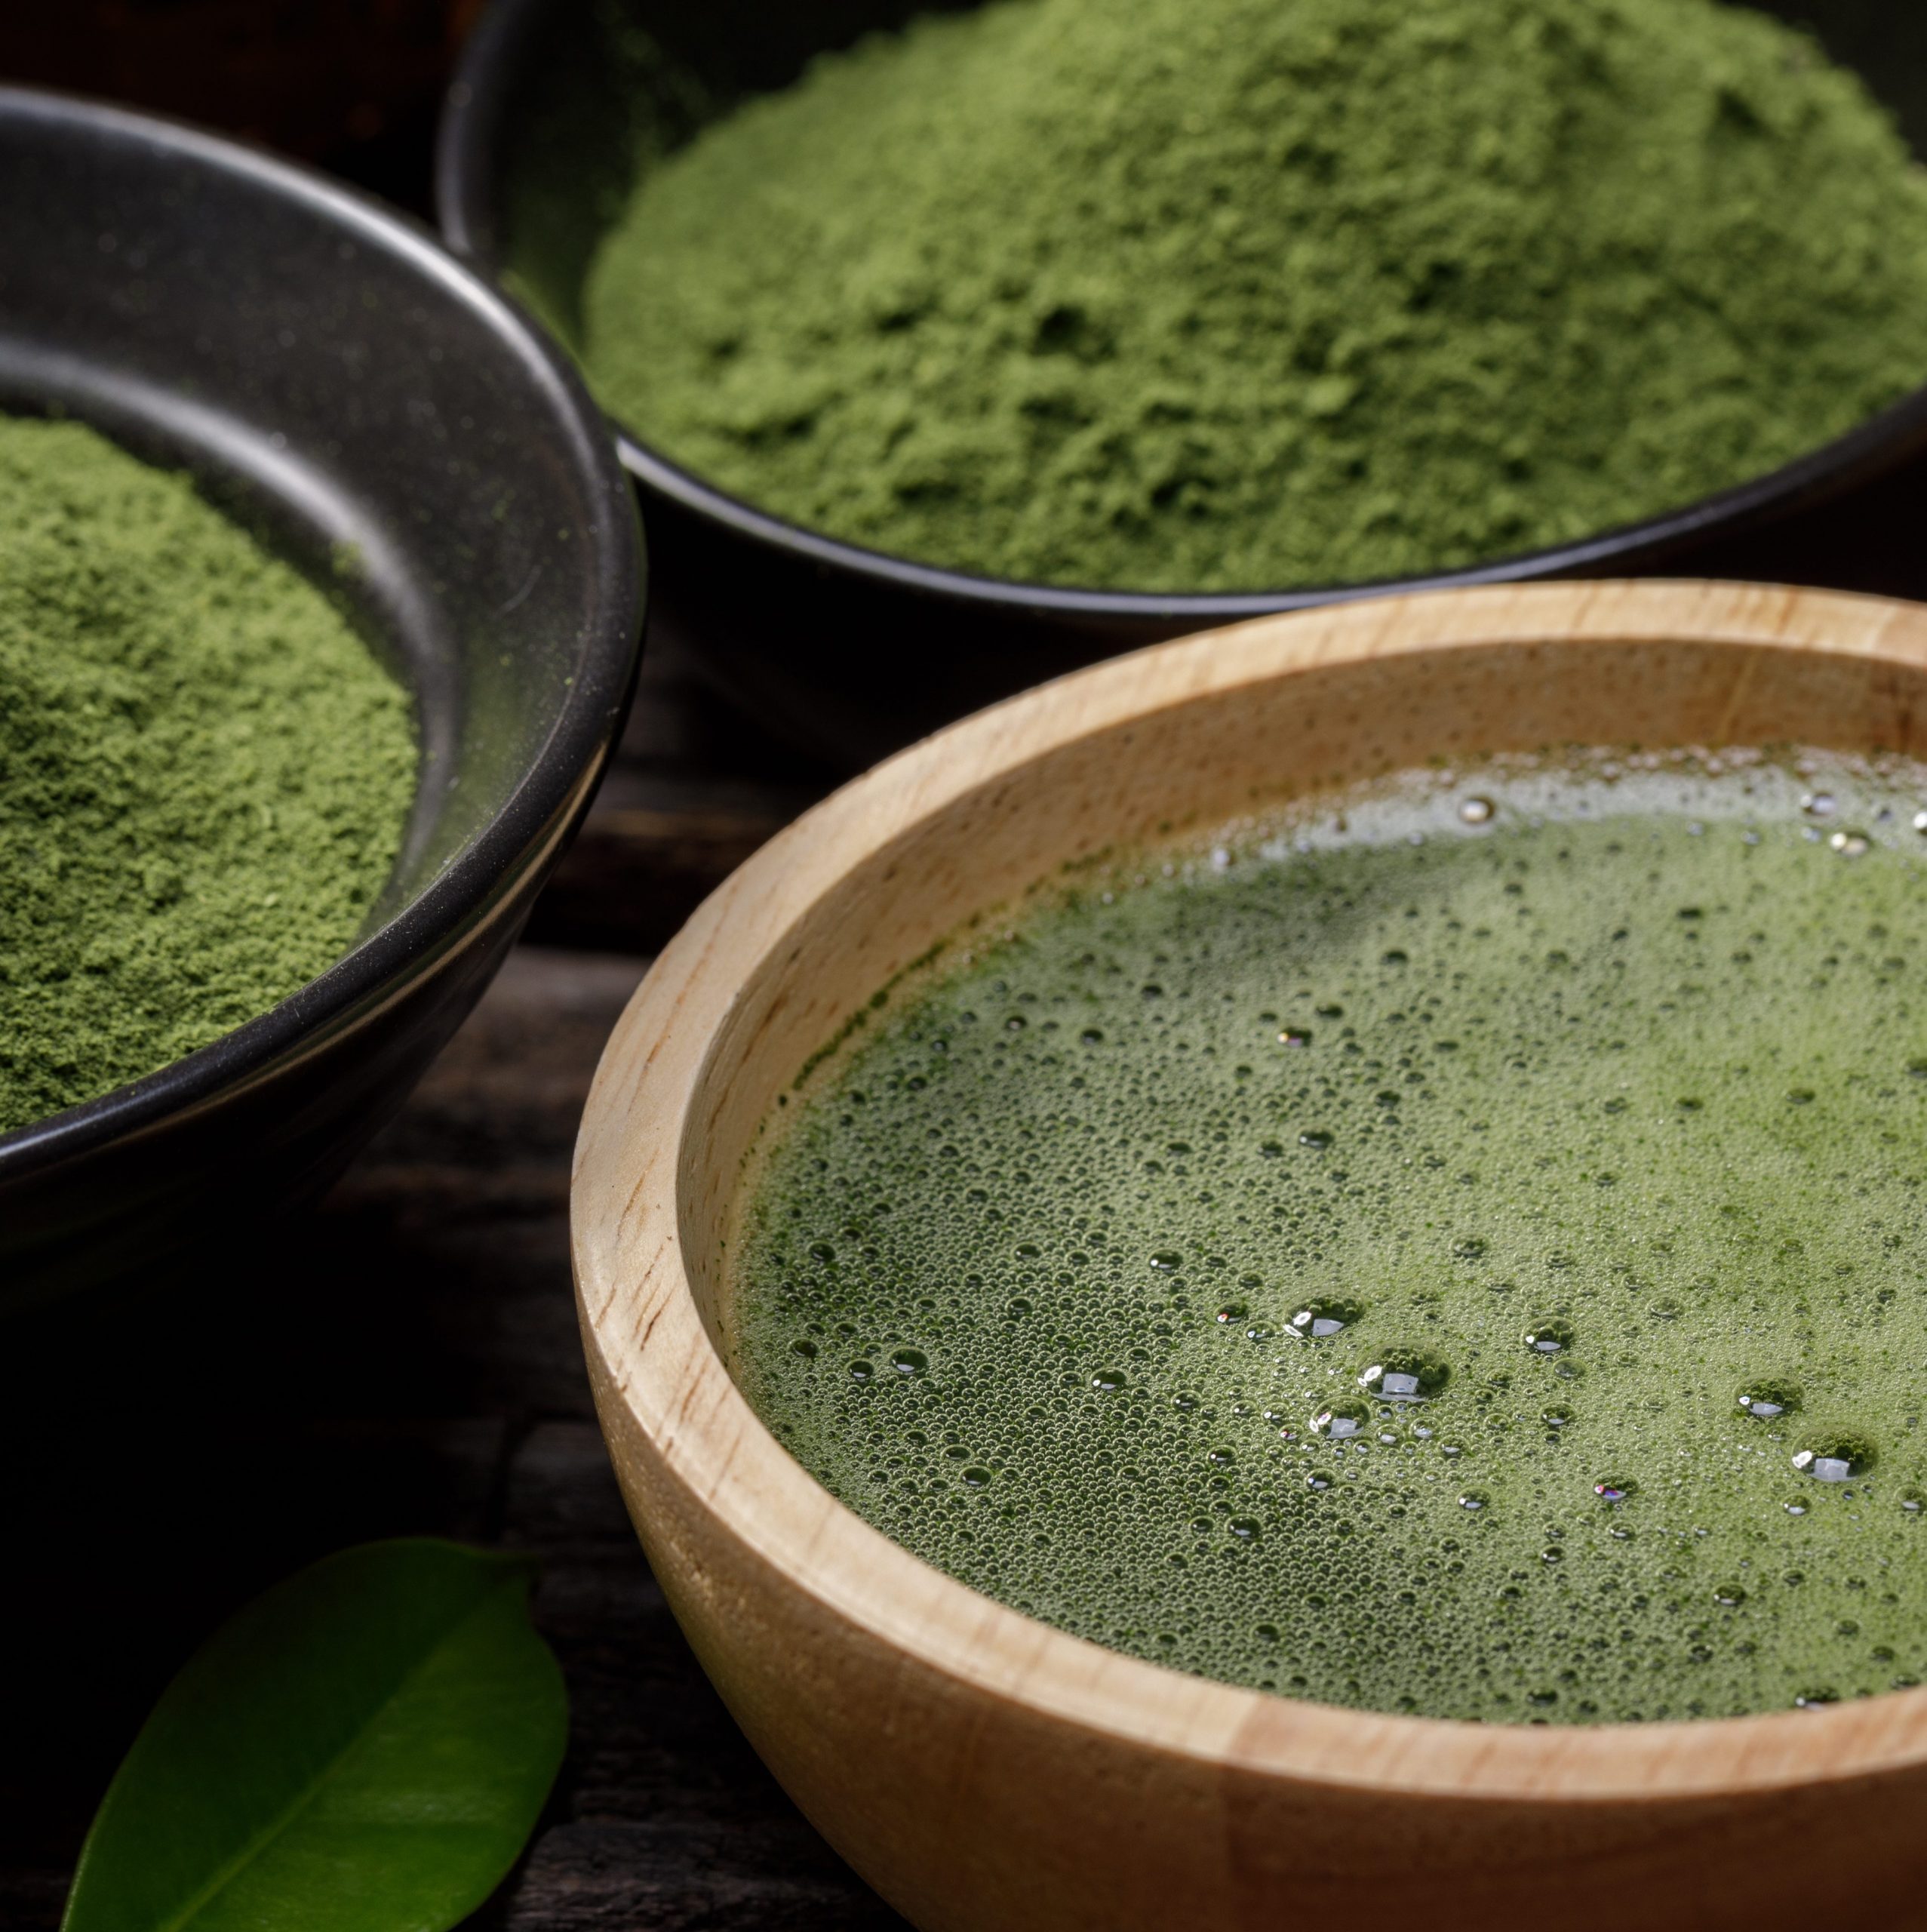
The best way to get the health benefits of microgreens is to eat them often, obviously. They have a robust taste, though, that, for some folks, is a bit too strong. The good news is that you can eat them in a variety of different foods. For example, you can put them in sandwiches and salads. You can also blend them into your smoothie in the morning or even juice them. Wheatgrass is a popular microgreen that’s can be put in juices. Also, using them in foods like soup, omelets, and other warm meals is perfect.
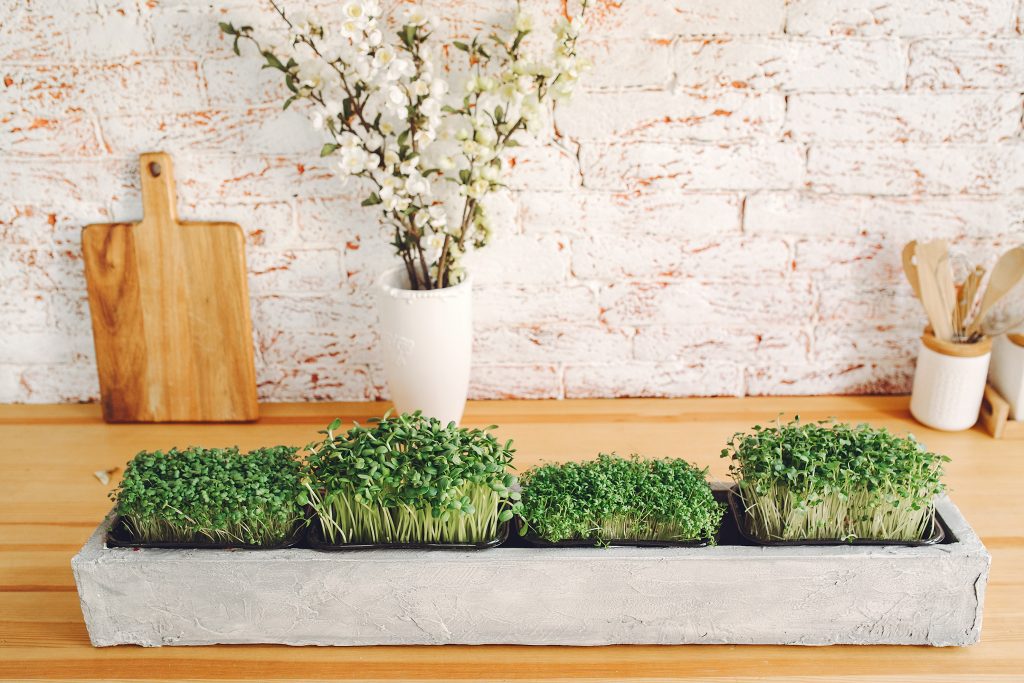
How to Store and Grow Microgreens
As we mentioned earlier, growing microgreens is simple and can be done practically anywhere. In fact, they’re so easy to grow you can eat them all year long. Here’s a quick step-by-step guide to growing them yourself:
- Purchase high-quality seeds.
- Buy soil or a “growing mat” designed specifically for microgreens.
- Purchase a small, rectangular container and fill it with soil. (Make sure it has a fitted top.)
- Mist the soil lightly with water
- Sprinkle your seeds on top evenly.
- Mist your seeds and cover the container with a lid.
- Check your seeds daily and missed when necessary.
- After the seeds have germinated (sprouted), take the lid off so they can get precious sunlight.
- Place your microgreens container where it will get late at least 12 hours a day.
- Water your micrograms daily while they grow.
- After 7 days and up to 21 days later, your microgreens will be ready to harvest.
How to Store Microgreens
And now for the answer you’ve all been waiting for! Storing microgreens is actually quite easy. The best way to store microgreens is first to place them between damp paper towels. Next, please put them in a resealable plastic bag or container, and pop them in the fridge. Done! Stored this way, your microgreens will last for about a week.
Brought to You by SecurCare
Did you enjoy this article? If so, wonderful! We hope that it helps you to grow and store nutritious, delicious microgreens for your entire family! By the way, this is part of our Wellness Series for 2021! If you want to learn more about eating healthily and staying fit in the new year, check it out! Until then, all the best for a happy, healthy 2021.


I’m not that much of an internet reader to be honest but your blogs really nice, keep it up! I’ll go ahead and bookmark your website to come back down the road.