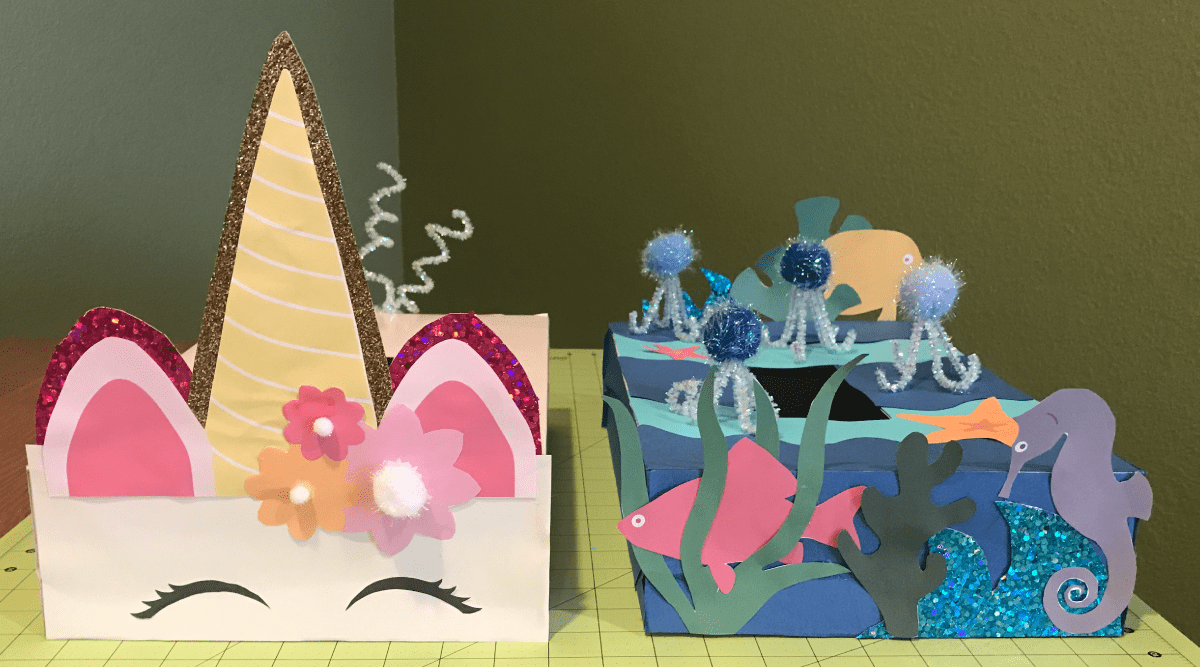
Valentine’s Day boxes are a school tradition we all love. Send your child off to school with a creative and easy-to-make box. Here’s how to make a Valentine’s box for school:
How to Make a Valentine’s Box for School
We’ve created 2 themed boxes—choose your design and print the pages you need from this free PDF. Feel free to add optional accessories to personalize your child’s box.
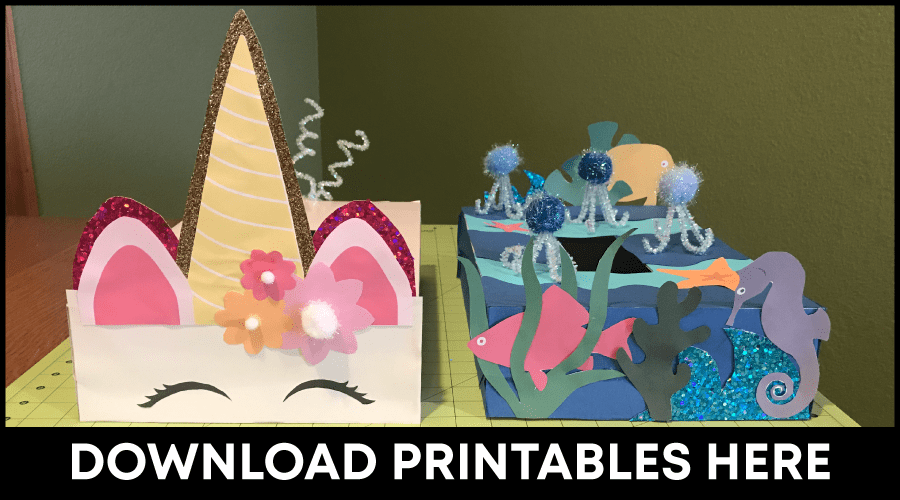
Materials:
- Box (shoe boxes work well; we used a gift box)
- Scissors
- Tape
- Glue
- Paper to print on
- Color craft paper
- Optional:
- Glitter craft paper
- Pom-poms
- Pipe cleaners
Step 1 |Print & Cut Graphics
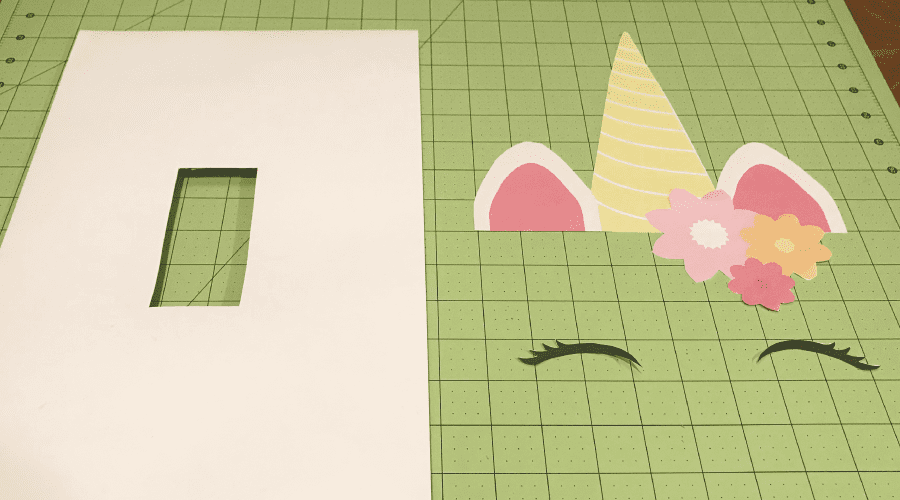
Print your desired graphics and use scissors to cut them out. You will also need to cut a hole on the top of your box—that’s where the Valentine’s goodies go!
Step 2 | Assemble Box & Apply Paper
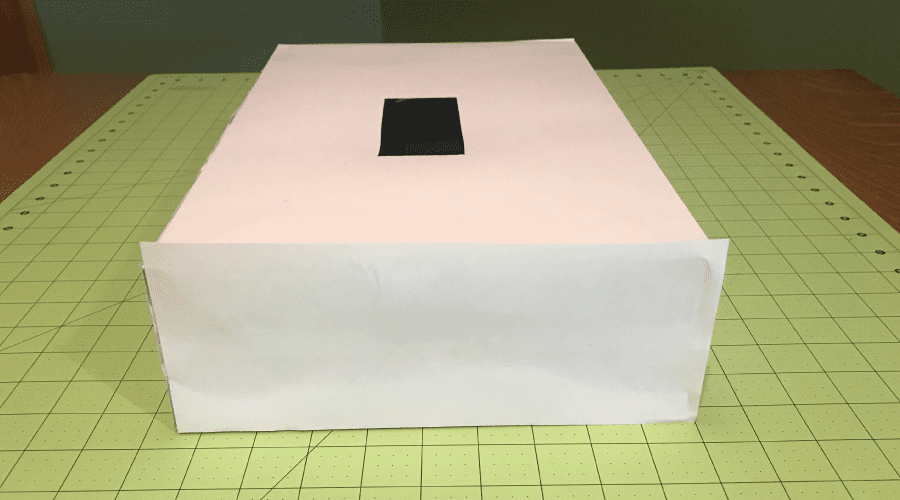
Tape the lid to the box to ensure it stays shut. After you’ve secured the lid you can adhere the craft paper to the sides and lid. You can use any kind of glue; we chose Mod Podge.
For our unicorn box we didn’t add paper to the top, we left it white. Feel free to make your unicorn whatever color you like!
Step 3 | Glue on Graphics
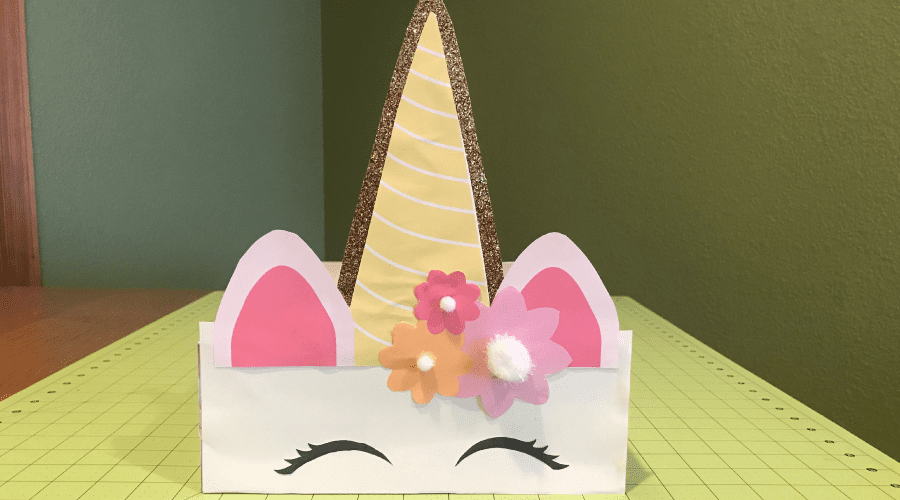
After your glue has dried, adhere the graphics to the box. We used hot glue for this portion.
Step 4 | Add Décor (optional)
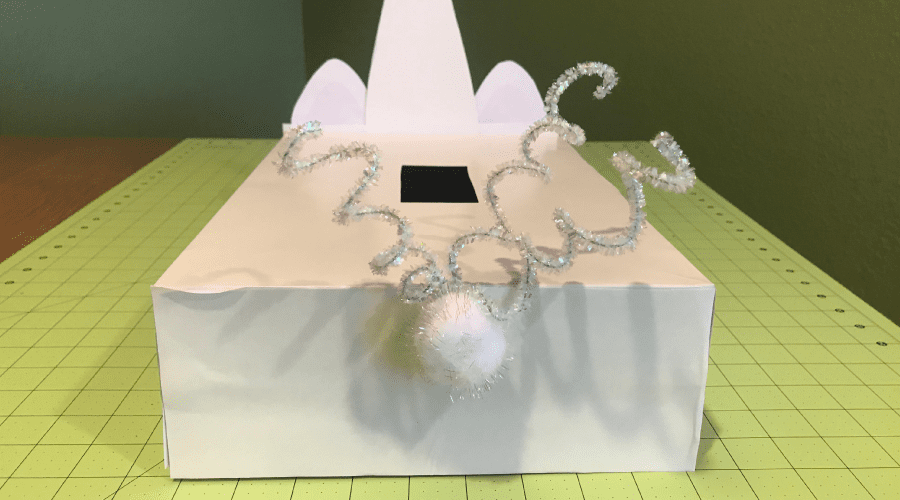
For the unicorn box we added a tail using pipe cleaners and a pom-pom. You can use ribbon as well—we know you have some in your gift wrap stash! We also added glitter craft paper behind the graphics to add sparkle and reinforcement.
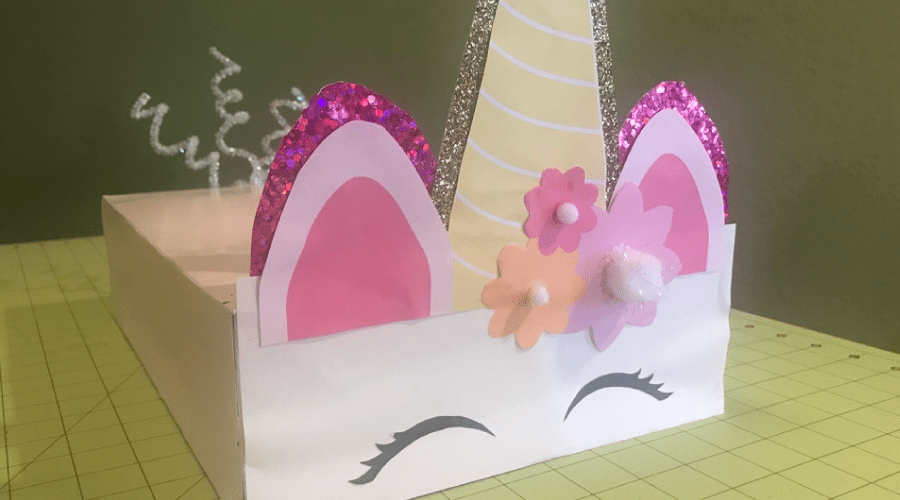
Step 5 | Finalize Your Unicorn Valentine’s Day Box

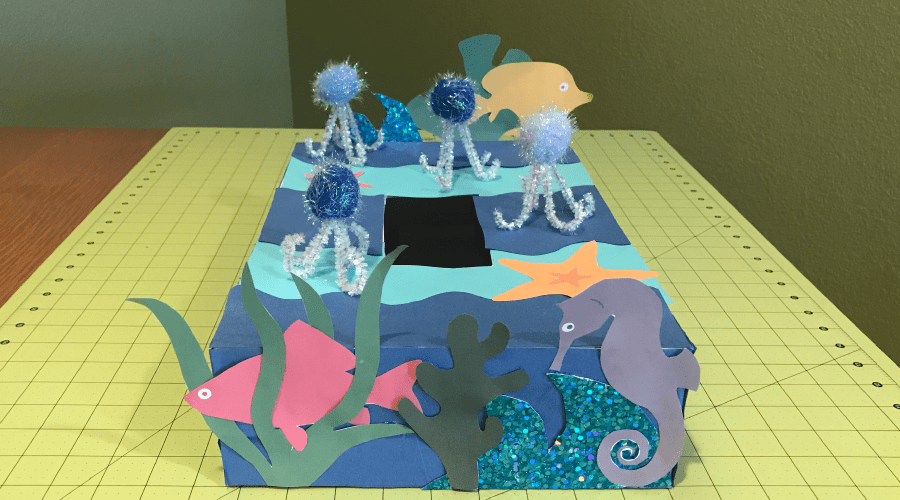
Here’s how our Under the Sea Valentine’s Day Box turned out:
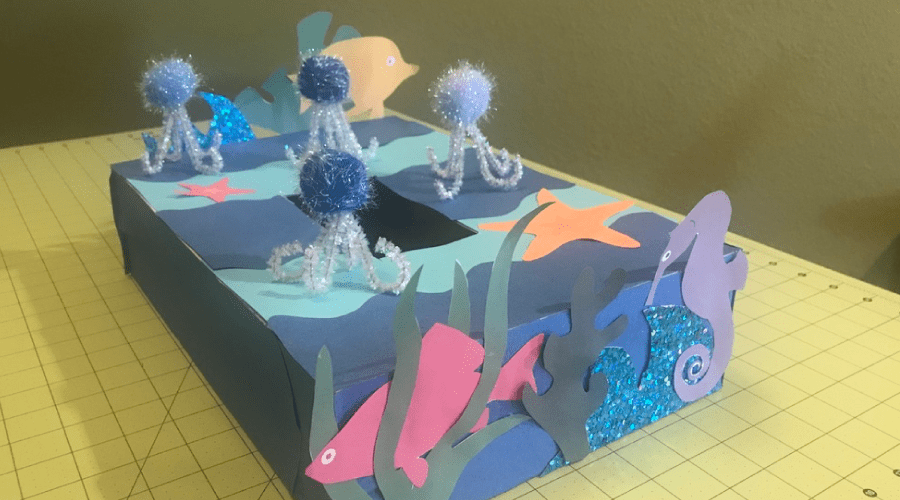
We hope your crafty heart is as full as ours!
More DIYs to do with your kids:
